In today’s visually-driven world, food styling has become an essential skill for anyone looking to showcase their culinary creations on Instagram or any other social media platform. Whether you’re a professional chef, a food blogger, or simply someone who loves cooking and sharing your meals, presenting your food in an aesthetically appealing way is key to engaging your audience. Food styling isn’t just about making your dish look good – it’s about telling a story, evoking emotions, and capturing the essence of your food. Here’s a guide on how to master the art of food styling for Instagram-worthy photos.
1. Start with the Right Plate or Dish
The foundation of good food styling begins with selecting the right plate or dish. The surface you choose should complement the food without overpowering it. Neutral-colored plates, such as white, beige, or pastel shades, work well because they let the colors of the food pop. Avoid overly busy or patterned plates that can distract from the dish itself. Additionally, the size of the plate is crucial – it should be large enough to fit the food comfortably without overcrowding the plate. A clean, slightly larger plate creates a visual contrast with the food, giving it space to breathe and appear more elegant.
2. Play with Colors and Contrast
Color is a key factor in food styling, and it can make or break the aesthetic of your photos. Use the natural colors of the ingredients to your advantage. Fresh herbs, vibrant fruits, and colorful vegetables are perfect for adding pops of color to a dish. To create contrast, pair lighter ingredients with darker ones. For example, a bright red tomato on a bed of dark greens or a golden dessert against a white plate will stand out beautifully. The color contrast not only adds visual appeal but also helps to highlight the textures of your dish.
Additionally, consider the overall color palette of your photograph. Keeping a consistent and balanced palette can make your image look more professional and cohesive. You can also use contrasting colors to emphasize specific elements – for example, green herbs sprinkled on a dish can make the other colors in the dish pop.
3. Use Natural Light
Lighting plays a huge role in food photography, and natural light is often the best option for achieving a flattering, authentic look. Natural light helps to bring out the true colors of your food and minimizes harsh shadows. Whenever possible, position your food near a window or in a space with soft, indirect sunlight. The golden hour (just before sunset or after sunrise) is perfect for capturing food photos, as the light is warm and diffused, creating a soft glow.
If you’re shooting indoors without access to natural light, consider investing in softbox lights or ring lights that mimic natural light. Avoid using harsh artificial lighting, which can create unflattering shadows and alter the colors of your food.
4. Focus on Textures and Layers
Textures can elevate a dish and make it more visually interesting. Think about how different textures can complement each other on the plate. For instance, pairing creamy mashed potatoes with crispy fried onions adds depth and intrigue to the dish. Don’t be afraid to layer your food creatively, either. Layering different components of the dish can add dimension, making the photo look more dynamic. Think of stacking pancakes, layering a salad with colorful vegetables, or drizzling sauce artfully over the top of a dish.
When styling, pay attention to the way your ingredients interact with each other – mixing soft textures with crispy or crunchy elements can add complexity and make your food more appetizing.
5. Garnish with Fresh Ingredients
Garnishes are an important aspect of food styling. Fresh herbs like parsley, basil, or mint can elevate a dish, adding color and vibrancy. Similarly, a few slices of fresh fruit or a sprinkle of finely grated cheese can give your dish a polished and appetizing look. When garnishing, less is often more – you want to enhance the dish, not overpower it. A small touch of something fresh can make a huge difference in how your food is perceived.
Be mindful of the placement of garnishes – they should appear natural and unforced, as though they belong there. Sprigs of herbs, slices of citrus, or a drizzle of sauce should look effortless and intentional at the same time.
6. Shoot from Different Angles
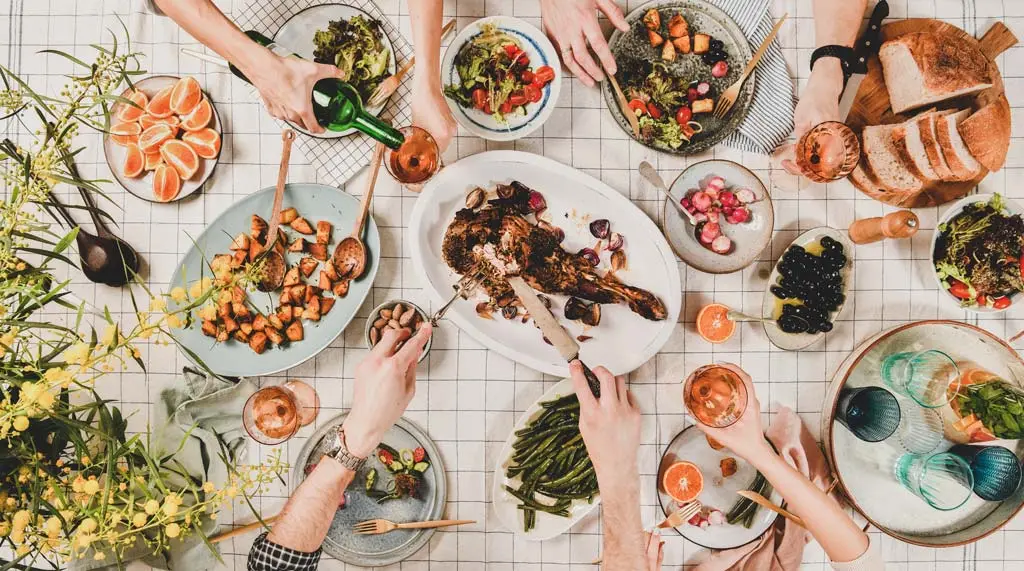
The angle from which you shoot your food can drastically affect how it looks in the photo. Flat lay photography (shooting from above) is a popular choice, especially for dishes that have a lot of visual elements like salads, spreads, or charcuterie boards. This angle provides an overall view and allows you to showcase the variety of textures and colors in the dish.
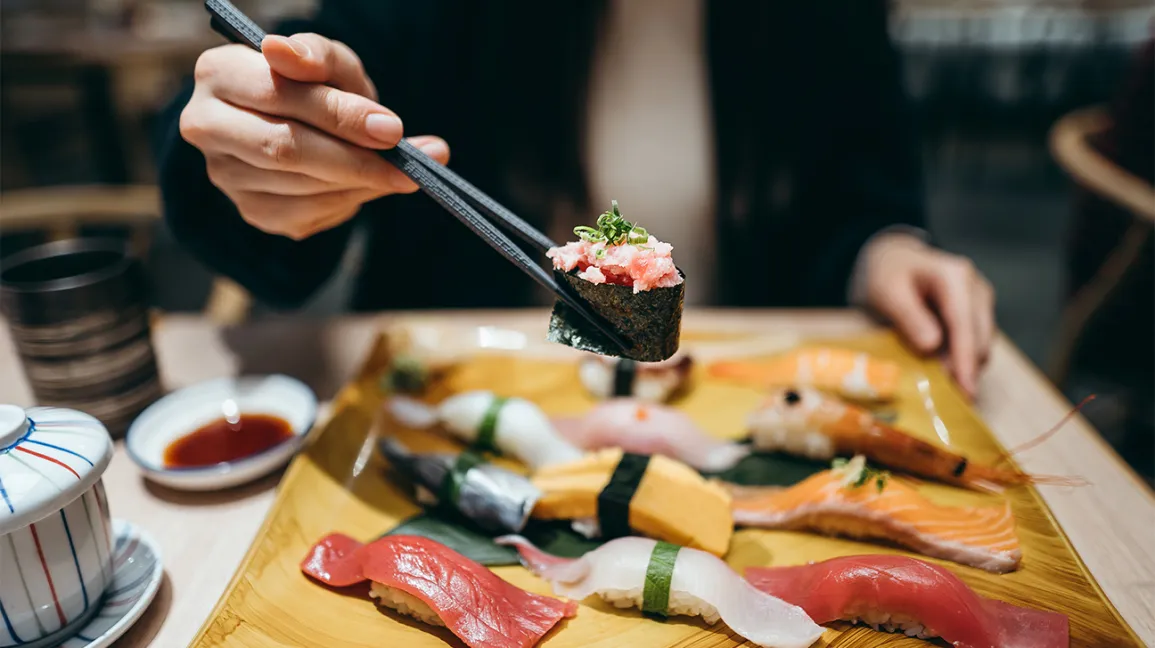
Alternatively, a side shot or 45-degree angle is great for showcasing height, such as with layered cakes or towering burgers. If you’re shooting something like a cocktail or soup, a close-up shot will highlight the details and textures, such as the foam on a cappuccino or the creaminess of a soup. Experiment with different angles to see which one best suits your dish and the story you want to tell.
7. Minimalism Is Key
When it comes to food styling, less is often more. You don’t need to overload the plate with food to make it look appetizing. In fact, an overstuffed plate can appear cluttered and chaotic. Focus on highlighting the key components of your dish, and keep the styling simple. Negative space is important – leaving some empty space on the plate can help your food stand out and give the image a more artistic, clean feel.
Also, consider removing any distractions from the background or plate. For example, if you’re shooting a cake, you might want to clear any crumbs off the plate before taking the shot. A clean and minimalist approach allows the food to take center stage.
8. Edit to Enhance, Not Overwhelm
Once you’ve styled your food and taken the photo, it’s time to edit. Editing is a crucial step, but it’s important to enhance the photo without overdoing it. Increase the brightness slightly if the photo is too dark, or adjust the contrast to make the colors pop. Don’t oversaturate the image, as this can make the food look unnatural. A subtle filter can help unify the overall tone of the image, but remember, the goal is to make the food look as true-to-life as possible.


